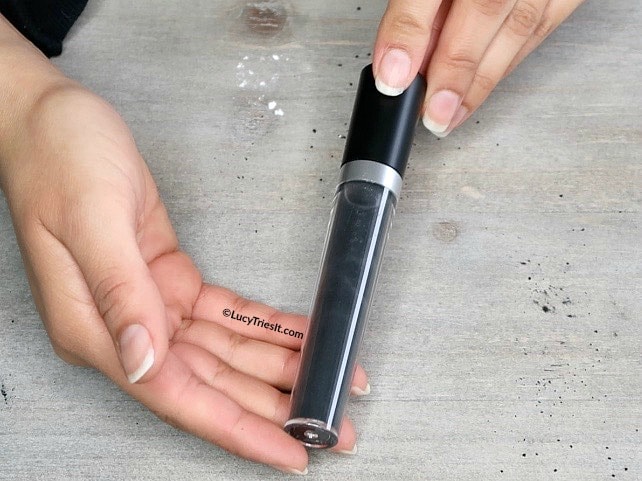
Hey girl, affiliate links are provided to help you find the products mentioned in this post.
DIY Tinted Brow Gel
You know those days when you’re feeling kinda lazy to do your eyebrows, but you still kinda don’t want them to look like crap? Or those days when you want your brows to look nice and natural, but not too done up?
These are the days when a tinted brow gel will come in handy, and this DIY tinted brow gel recipe is just what you need!
GET YOUR DIY COSMETIC MIXING BOWL SET HERE!
Related Article: Easy DIY Aspirin Face Mask For Acne
Tools For The DIY Tinted Brow Gel
In order to make this super simple DIY tinted brow gel, you’ll want to have these tools at hand.
DYI Mixing Bowl Set
A DIY cosmetic mixing bowl set will be used to do all your mixing. I like this set because it comes with everything you need. Plus, it’s super cheap!
Empty Mascara Tube & Tiny Funnel
Empty Mascara Tubes With Wand Applicators and Funnels
You’ll need an empty mascara tube with a wand applicator to store your brow gel. You’ll also need a tiny funnel to pour your finished mixture into your tube. This kit is perfect because it already includes the tubes and the funnels.
DIY Tinted Brow Gel Ingredients
Now that you have all the tools you need, it’s time to gather the ingredients. This DIY tinted brow gel consists of only three natural ingredients!
Aloe Vera
Aubrey Aloe Vera | 98% Organic Ingredients
The base of this DIY tinted brow gel is going to be aloe vera. I used this brand, which is a very pure aloe vera that doesn’t contain any thickeners. However, if you prefer a thicker gel-like consistency, then you can opt for a brand like this one. It will work great with this recipe.
Related Article: DIY Overnight Face Mask For Acne & Radiant Skin
Activated Charcoal
Activated Hardwood Charcoal Powder
Since my hair is dark, I went with activated charcoal to create a black tinted brow gel. You can break open some capsules, or if you’re a big DIY’er you can get yourself a small tub of the stuff. It has multiple uses after all!
Corn Starch
You probably have this last ingredient in your kitchen cupboard! Corn starch is used in the recipe as a thickener and also to help lighten the color (as needed).
DIY Tinted Brow Gel Video
How To Make Your DIY Tinted Brow Gel
Now that you have all your ingredients and tools in place, it’s time to make your tinted brow gel!
Step 1
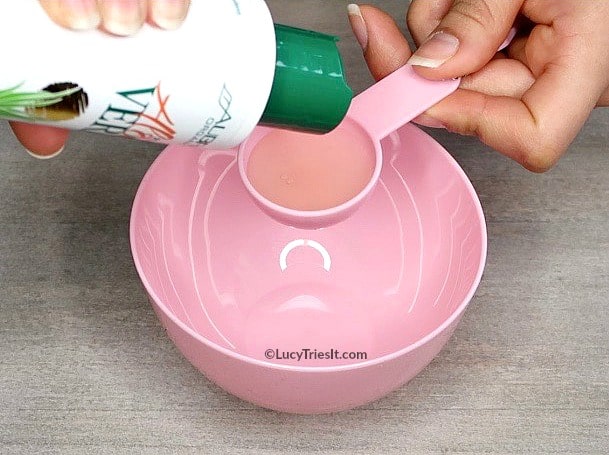
Add 1 tablespoon of aloe vera to your mixing bowl.
Step 2
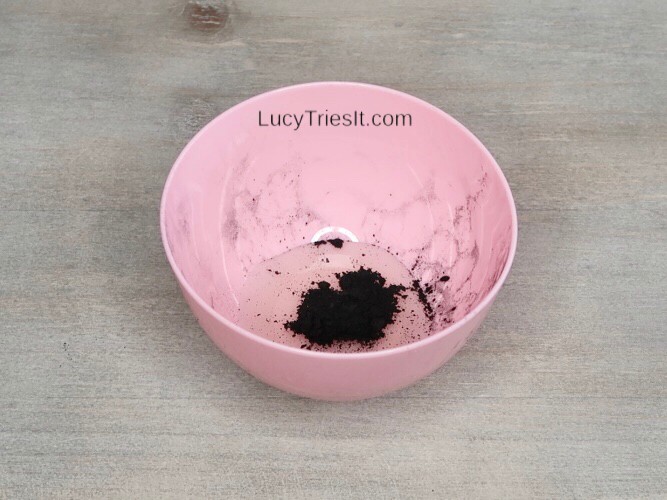
Add the activated charcoal to the bowl and mix well. I added 2 capsules to my mixture (about 1/2 teaspoon).
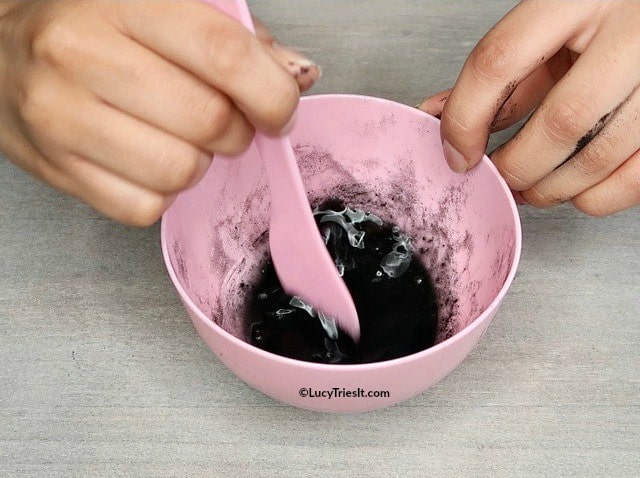
Step 3

Slowly add the corn starch and mix it well. Add as much corn starch needed to reach your desired consistency. I used a pure aloe vera that is very watery, so I had to add more corn starch. If you’re using a thicker aloe vera gel, you may not need as much corn starch.
Step 4
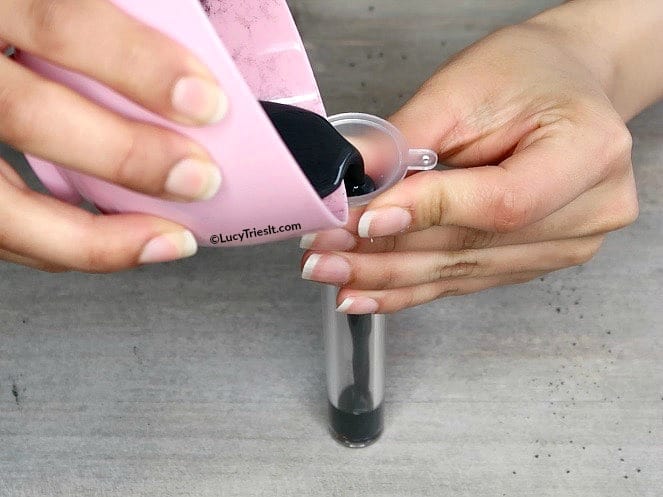
Place the funnel on your empty mascara tube and pour your mixture into the tube.
Step 5

Seal your mascara tube with the rubber insert and wand applicator and you are done!
Related Article: Super Quick Way To Fill In Eyebrows Naturally For Busy Mornings
Simple & Natural DIY Tinted Brow Gel
This tinted brow gel is great for a natural eyebrow look. Make sure to always shake well before each use as some the the ingredients will naturally separate (that’s normal).
You can use different powders to get the right color for your brows. Cocoa powder or cinnamon can be used to create a brown eyebrow gel, while ginger powder can be used for a paler color.
Hope you enjoy this DIY makeup recipe! And as always, make sure to test on a small area of skin first to make sure you do not have any reactions.
INFORMATION PRESENTED IS BASED ON MY OPINIONS, PERSONAL EXPERIENCES, AND INTERPRETATION OF MY RESEARCH. I ADVISE YOU DO YOUR OWN RESEARCH AND CONSULT WITH YOUR DOCTOR BEFORE TRYING ANY NEW PRODUCTS AND NATURAL REMEDIES. MAKE SURE TO TEST ON SMALL AREA OF SKIN FIRST TO MAKE SURE YOU DO NOT HAVE ANY REACTIONS. RESULTS MAY VARY.


What a cool, original idea Lucy!
I never considered the possibility of making your own tinted brow gel – thanks so much for this tutorial!
– Laura.
Thank you! Glad you enjoyed it!